


How to take the
perfect cocktail
photo with an iphone

“The best camera is the one you have with you.”
1. SETUP
Every great cocktail picture starts with a great cocktail. Here’s how to mix a drink, so that it’s ready to be the prime subject of a great cocktail photo.
· The Cocktail ·

Make your cocktail look how you want it to taste.
• If your cocktail is carbonated, make sure that it is really bubbling to the top. Shake up that club soda to add some extra bubbles, and get someone to help you out by pouring the soda just before you take the picture. This will make your cocktail will look more alive and refreshing in front of the lens.
• If you have a fruity cocktail, (and you want to emphasize the sweetness) consider adding more syrup than normal to make the color pop and emphasize the flavor of the drink.
•Just like they’re a great way to accent the flavor of a drink, garnishes can communicate flavors in picture that you otherwise wouldn’t be able to.
• If your cocktail looks the way it should taste, more than half of your work is done before you ever pick up a camera.
· Setting ·
Give context to how it should be enjoyed
• Create an atmosphere takes the viewer to an ideal situation to enjoy your cocktail. Take a summer cocktail outside! Put a winter cocktail in front of a fireplace! People key in on and remember things much better when they are part of a story; take your cocktail to a place that tells the right kind of story for your drink.
• Give lots of space in between your cocktail and the background. While the setting is important, your cocktail should be the main focus of the picture. The further away your background is from your drink, the more pronounced your cocktail will be in the photo, and it also gives your photo a nice professional look.
· Lighting ·
The difference between ok and amazing
• No matter how well your cocktail is made, if it is poorly lit, it will look bland and unappealing on camera.
• Backlighting is one of the best ways to make your cocktails pop on the camera. Find a bright background that will shine through your cocktail and give every bubble and piece of ice wonderful detail. Here is a great tutorial by Lauren Caris Short on how to light your cocktail photos (tips 3 and 4).
• On the [bad lighting] photo, no lighting was used. On the [good lighting] photo, the flashlight of a friend’s iPhone was held at 45 degrees from the camera, just out of frame. You don’t need a professional lighting setup to get professional results, an extra pair of hands with a phone works just fine!
Once again, great lighting doens’t require expensive equipment. If you understand basic lighting principles, something as simple as a window and an iPhone flashlight is all you need to make a professional-quality photo. Get creative with the light sources you do have and use them to your advantage.
II. SHOOT
FRAMING
Shoot at or close to eye level with your cocktail. You want your drink to have the biggest presence of any element in your photo, and bringing the camera down to the same height as your drink is a great way to do so.
Try moving the cocktail away from the center of the frame. Look at a professional photographer’s page and see how few images have the subject directly in the middle. This is a quick way to make your photo look more interesting and professional, and more like how we see things in real life.
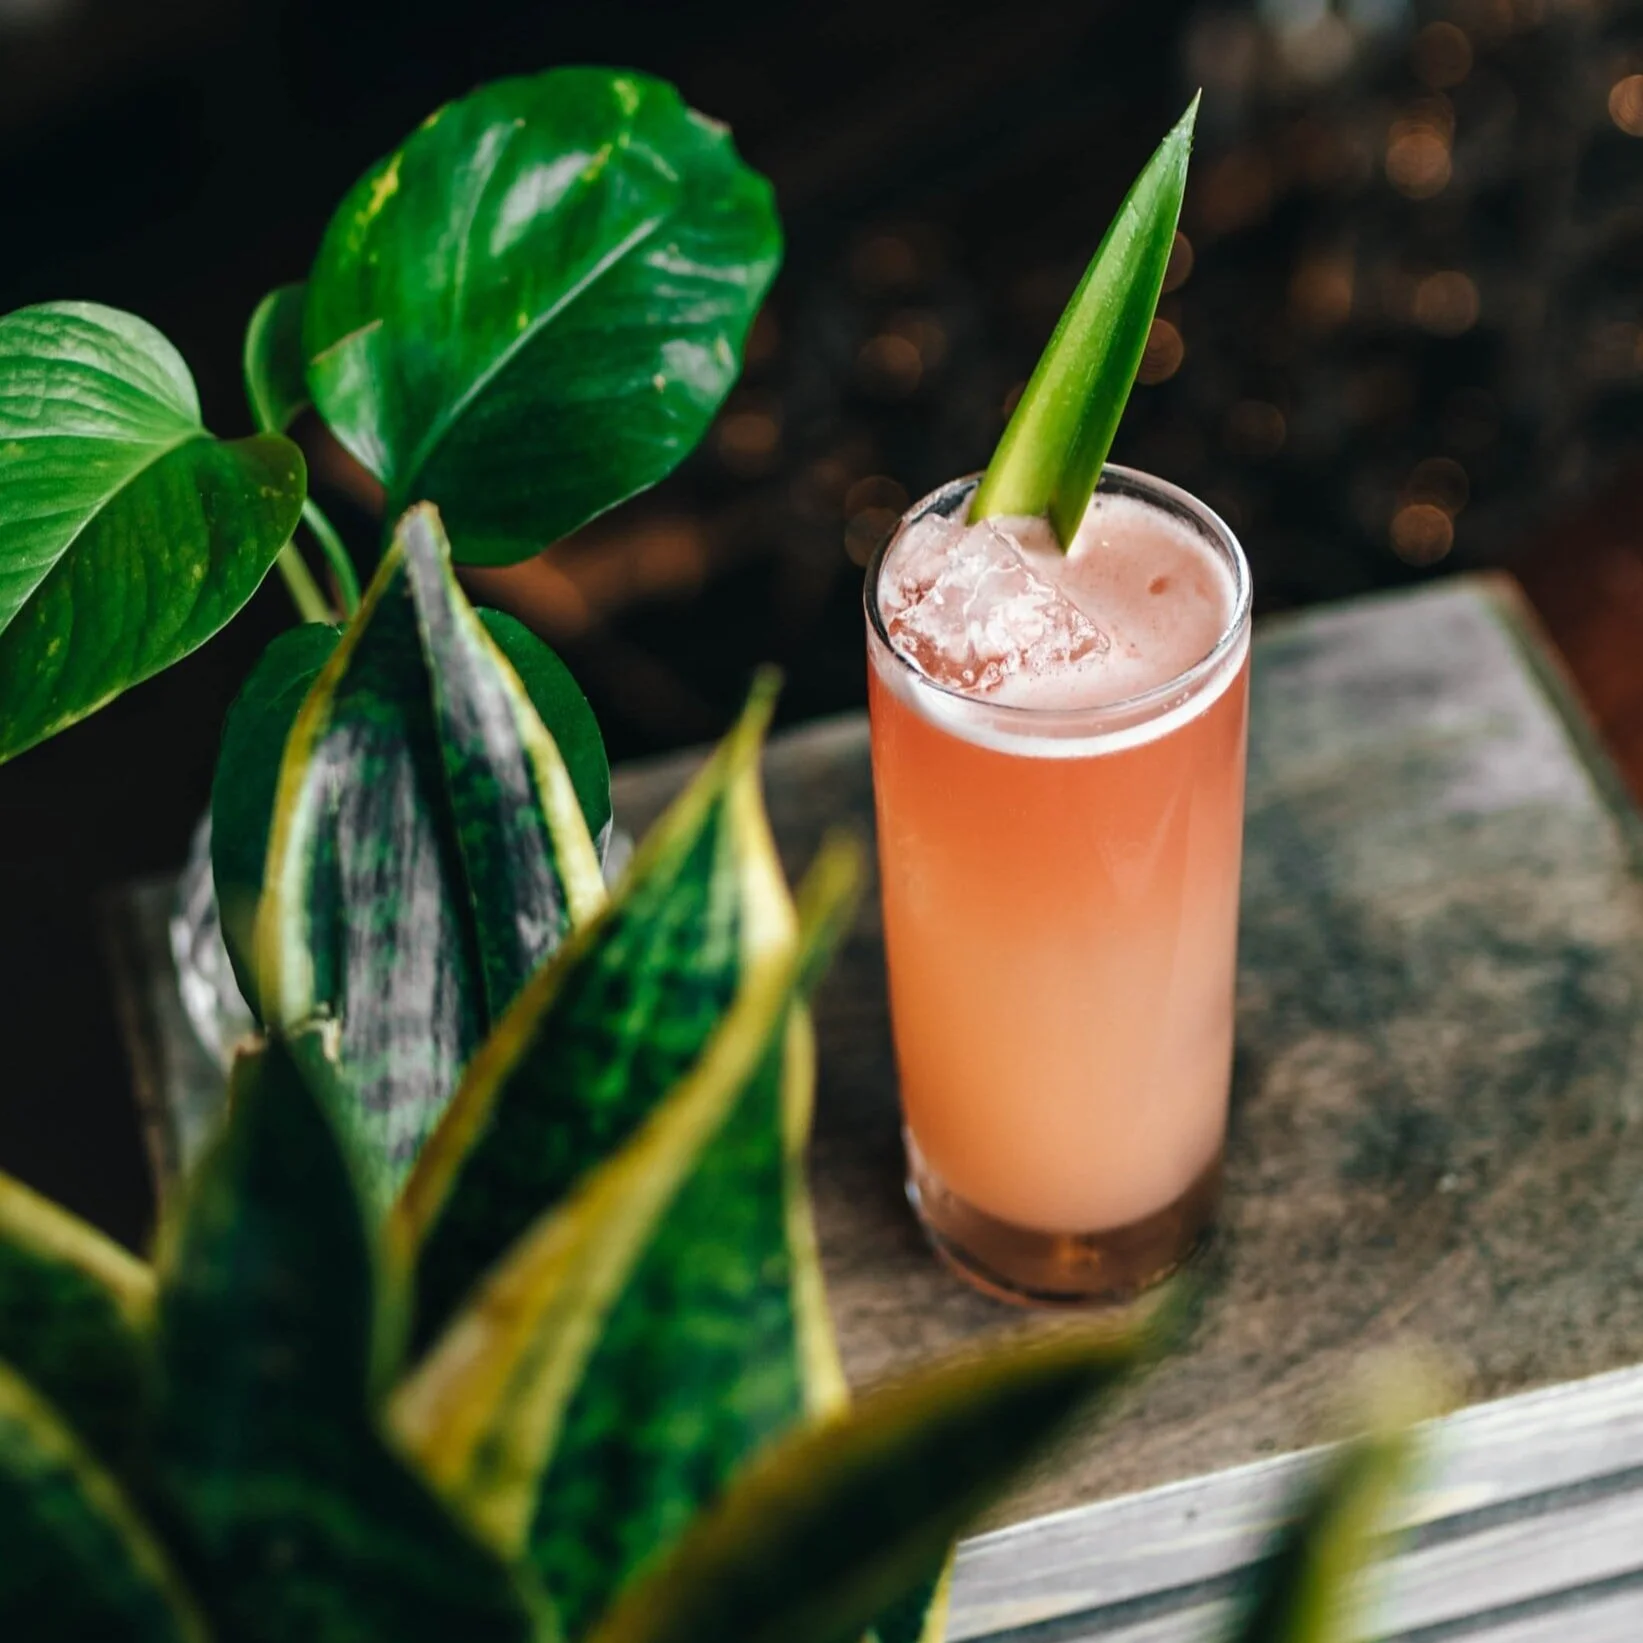
Find the most interesting element of your drink and give it the most space in the photo. In this photo, the most interesting part of the drink visually is the nice thin layer of foam, along with the garnish and the ice cube. To highlight this, the photographer positioned the camera above the drink and shot downwards, to make sure the whole top of the drink was visible and prominent.

PORTRAIT MODE tips
Portrait mode is a great option to make your photos instantly look more professional, but there are some things to watch out for. In portrait mode, blurs subject digitally rather than with the lens like a professional camera. This means that the more contrast there is between your cocktail and the background, the better your portrait mode image will look. If you’re using portrait mode, consider shooting in front of a flat background like a wall or the sky, and your image will be much sharper.
Think about it this way, the easier for you to see the edge of your subject against your background in the image, the easier it will be for your iPhone to see as well, and it will do a better job separating it from its background!

EDITING
There are many great editing apps available for free on the Apple store, but we have two recommendations:
The “edit” functions on your iPhone’s “Photos” app is completely capable of giving you the final touches your photo needs to really stand out, and doesn’t require adding another app to your phone.
If you’re really looking to get serious about editing your photos, Adobe Lightroom has a free version on the App Store that will give you all the tools you need and more to make your great photo incredible.
A great overall philosophy for editing cocktail photos can be found on this awesome cocktail photo tutorial by Jordan Hughes (tip #3).
III. SHARE

Marketing your cocktail photos
In the media driven world in which we live, perception is the life or death of most businesses. This is not to say that if you have beautiful photos and disgusting cocktails that your business will survive, but if your guests have already seen pictures of your drinks online that look professional and delicious, when they come to your restaurant/bar, their much closer to being won over by your offerings because they expect it to taste delicious as well.
Great cocktail photos are the gas to the flame for a restaurant or bar’s social media efforts, and one of the easiest ways to get foot traffic into your business.

using your photos in-house
Great cocktail photos are not only useful online. One of the biggest obstacles craft cocktail bars face is getting their guests to try their signature cocktails, the drinks that set them apart from the competition. This is not because their signature drinks are not delicious, it’s because their guest might not understand the drink and thus be timid about ordering it.
Using an amazing cocktail photo in your menu is one way to tell the story of your drink, in a way that will make your guests more likely to be willing to try your signature drink, because they’ve tasted and enjoyed the drink with their eyes before tasting it on their tongue.
If you’re looking for more ways to make your cocktail menu give your guests a better experience and sell the drinks you want it to sell, check out this article we’ve put together on crafting a cocktail menu that tells the story of your drinks: https://bluerookdistillery.com/cocktail-menu-guide
As a family-owned craft cocktail bar ourselves, we know that not everyone has a professional photographer on retainer to make magic happen on a regular basis. But armed with these tips, we hope that with an iPhone and a bit of creative fervor, you’ll be able to give your drinks the platform they deserve with a beautifully done cocktail photo.